Start blogging with Jekyll, GitHub and Netlify
Dec 10, 2018 | Utkarsh Shigihalli
| 3 min read
Jekyll
Netlify
GitHub
Utkarsh Shigihalli
| 3 min read
Jekyll
Netlify
GitHub
I thought I will write a small blog post on how we host this blog. This is a JAMstack site, meaning what you see is just JavaScript, (no) APIs and Markup. We host this blog for free using Jekyll and Netlify. We also love the fact that we get to write blog posts in markdown files - commit the file and within few min your post is live!. Sounds interesting? Let me explain in detail.
Jekyll - static site generator
Jekyll is a simple, static site generator. Even GitHub Pages uses Jekyll to build and run the sites.
Installation
Jekyll website has a good post on installation already based on your operating system. For Windows though, David Burela has posted a neat trick to install it in 3 easy steps here using Chocolatey.
Creating a simple blog
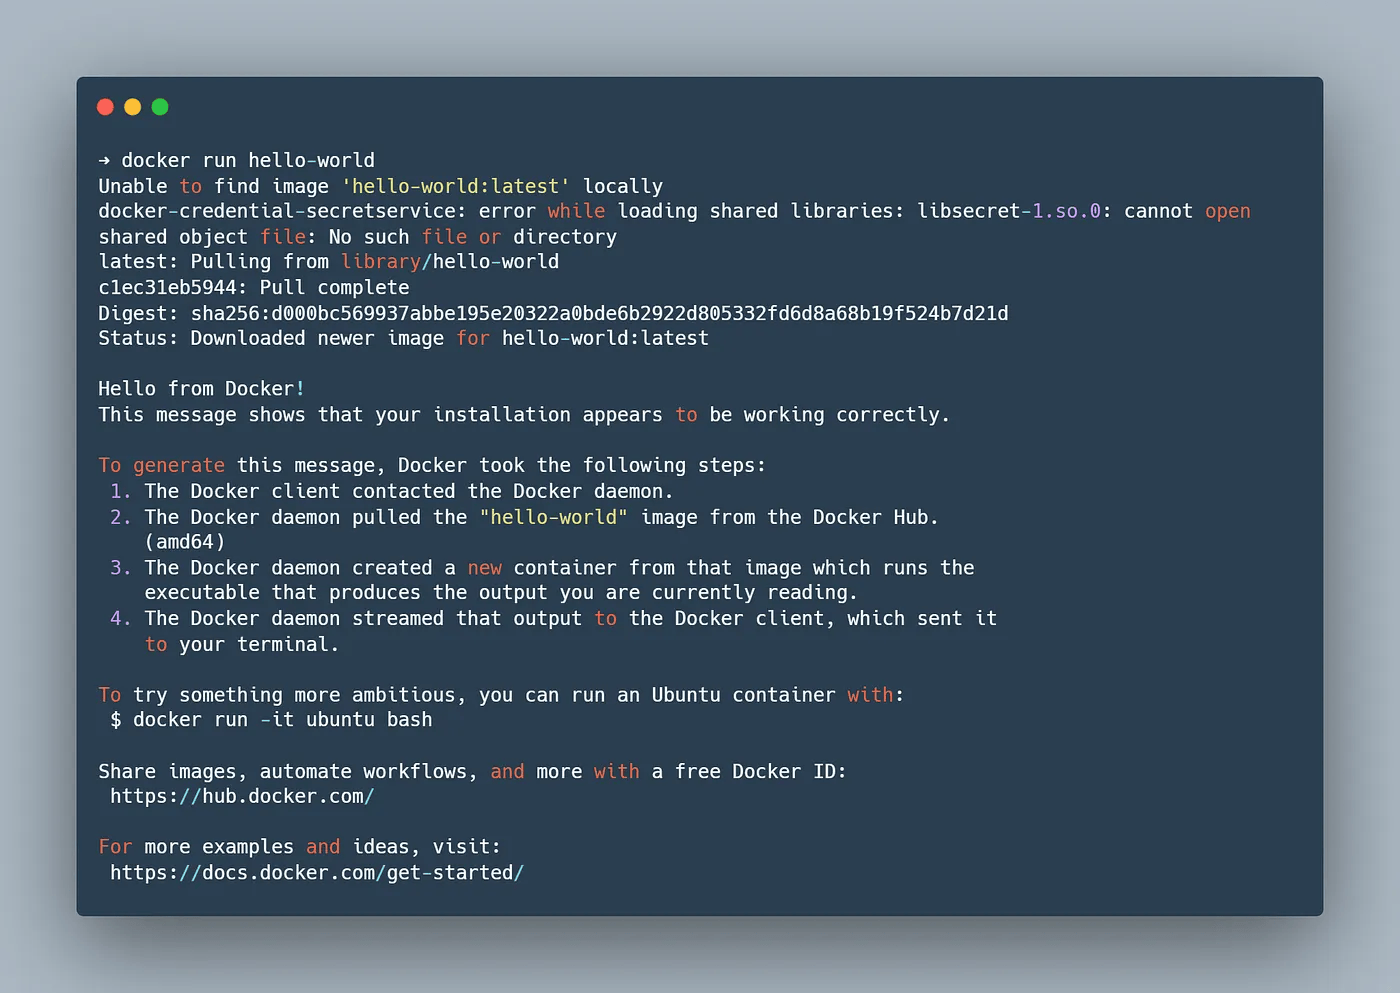
Once you have Jekyll working, you can create a simple blog post by running the following command
jekyll new .
This will create a basic a blog structure which will look like below.
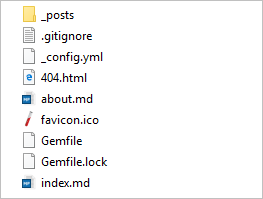
The _posts folder will contain all your blog posts and each post is a markdown file. Each markdown contains a front matter which allows you to add the meta data for the post.
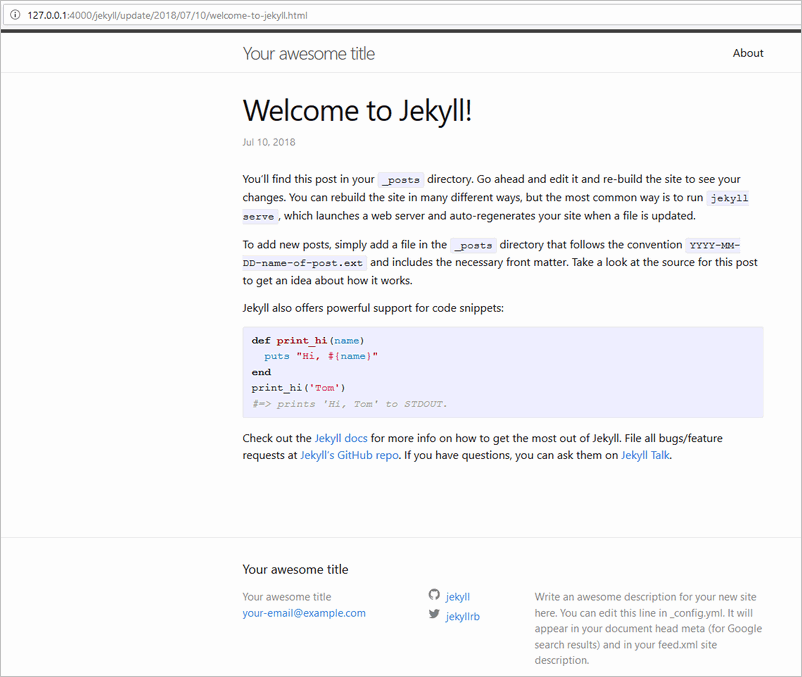
Now to run your website locally run jekyll serve and you will see the blog up and running in local machine under port 4000.
Jekyll will build your site using
jekyll buildand store the generated static content in_sitefolder. Your site will be served from this_sitefolder.
Source control your website using GitHub
Create a repository in GitHub and commit the folder your created. I committed mine here.
You now have following advantages
- Your full website is fully source controlled
- Has a full history of your changes to any part of the site
- Writing blog post is just adding a markdown file.
Hosting your site using Netlify
Netlify hosts your static websites for free and serves your site using CDN (Content Delivery Network). Few of the advantages hosting your site on Netlify are
- Geo-redundant CDN for your site
- Continuous deployment - You push your code to GitHub and Netlify builds your site and your site is live within minutes.
- Provides a free TLS certificate via Let’s Encrypt - this means your site is served on HTTPS free of cost.
- You can add custom domain - We have done just that :)
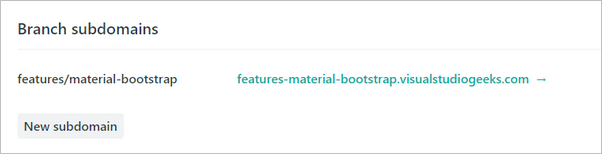
- Lastly, Netlify has something called as branch sub-domains - meaning you can modify your site in a new branch and test it out as a sub-domain before merging it to
master
Head over to Netlify and create the account if you already don’t have one.
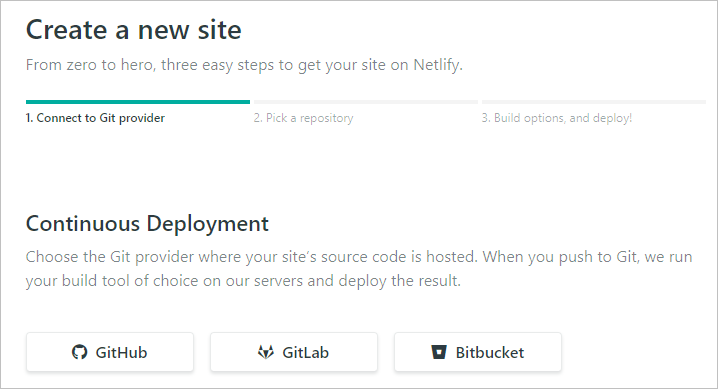
Importing your git repository
- Click on
New site from Git
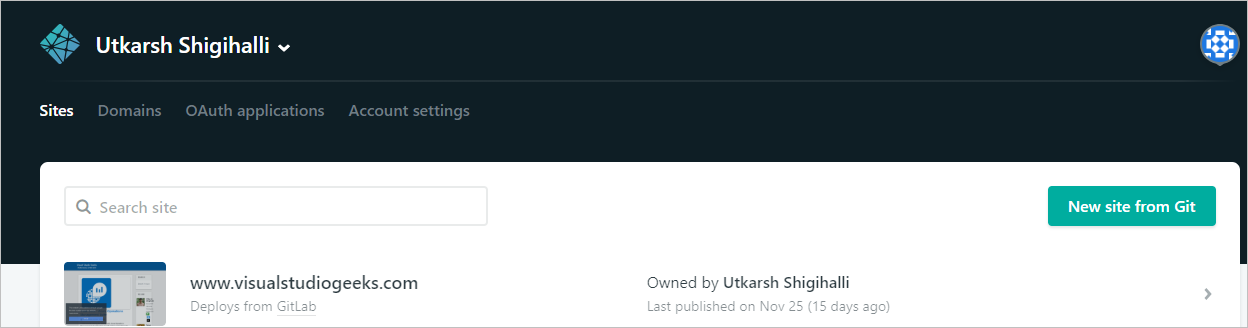
- Click
GitHubto import our repository
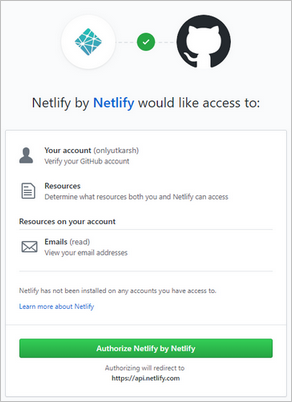
- Authorize Netlify to your GitHub account
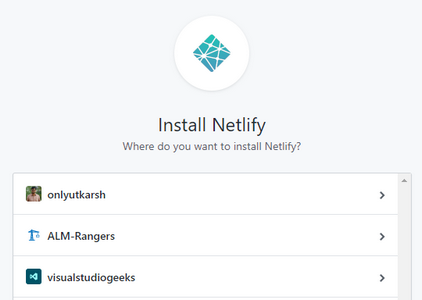
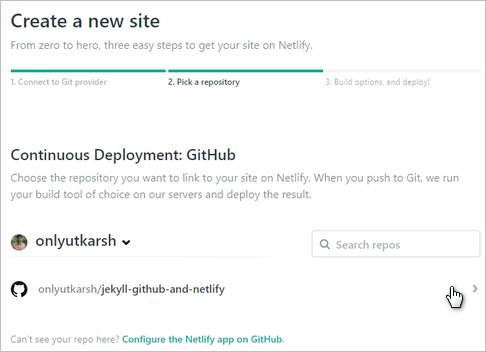
- If you have access to multiple accounts, you will be asked to select the account where your repository lives
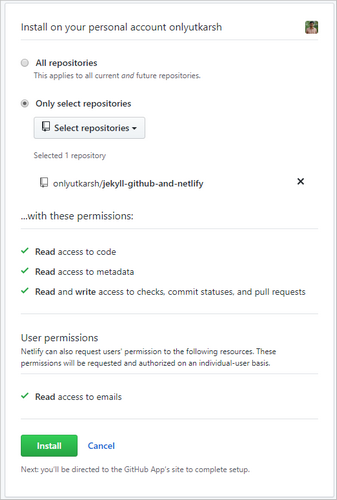
- Next screen will prompt you to select the repository which hosts your Jekyll site. Select the appropriate repository and click
Install
- Click on the repository link on the screen
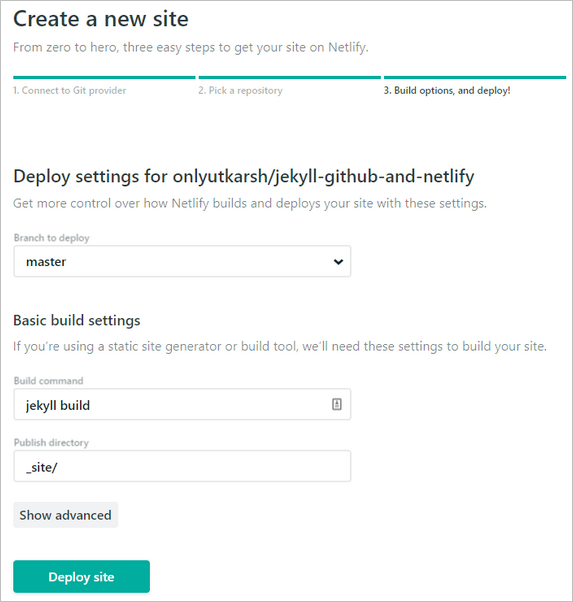
- Finally, you will select the
branchfrom your site will be live (typicallymaster) which will be pre-populated. You will also have an option to specify the command to build your Jekyll site. I will leave it asjekyll build. ClickDeploy site.
If you need to customize and need advanced options, take a look at Netlify’s toml file
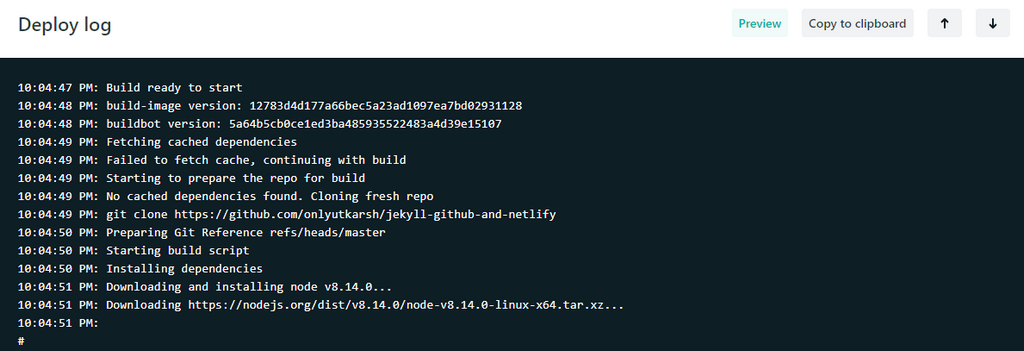
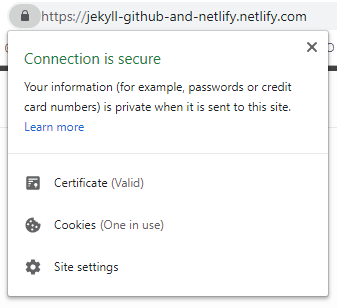
Within few minutes Netlify will build your site (displays full console log during deployment) and your website is live under a random sub-domain. You have an option to change the name under Settings - I changed mine to https://jekyll-github-and-netlify.netlify.com/
See our blog live here
Isn’t it cool? Oh I almost forgot, notice our blog is being served from HTTPS and has a full valid certificate!
Conclusion
In this blog post we saw how easy it is to host a free blog/website using Jekyll, Netlify and GitHub. I hope you found this blog post useful.
Few features not covered in this post, but you should checkout:
- There are tons of features which Netlify offers which I have not covered here like Injecting JavaScript snippets on the fly, Functions etc. I suggest you go through the Netlify documentation.
- For our blog post we also do many SEO optimizations by setting custom headers etc - Again Netlify makes it easy for us as it allows use to specify custom headers based on the folder path. Finally, our contact form in this site is hosted using Netlify’s Form feature.