Back to basics: Building static website using Jekyll in VSTS
Jul 16, 2018 | Utkarsh Shigihalli
| 2 min read
DevOps
Build
Utkarsh Shigihalli
| 2 min read
DevOps
Build
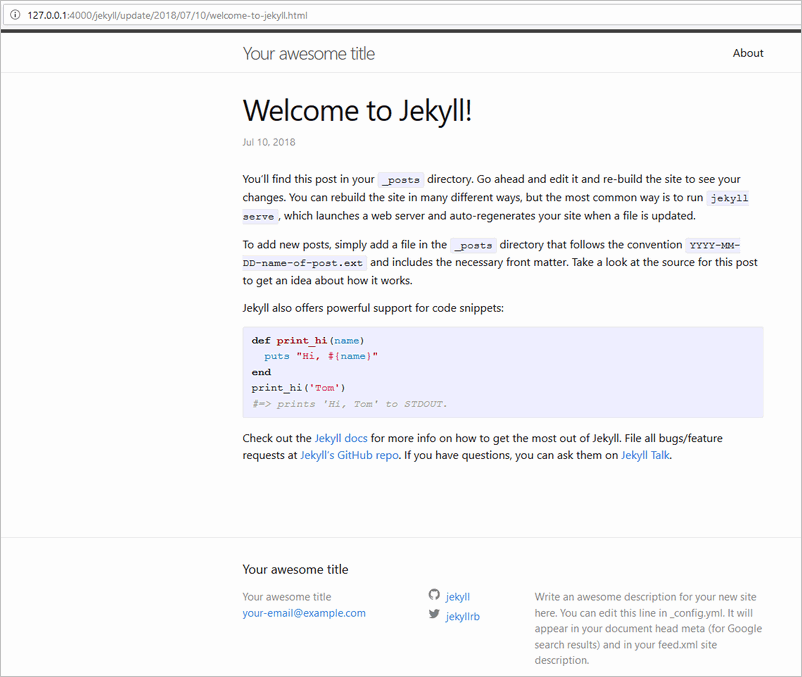
We host this blog as a static website using Jekyll. This allows us to write our blog posts in markdown syntax and we get to version control our files.
Jekyll is a popular static site generator and from the day we have implemented it, we have thoroughly enjoyed maintaining it. In this blog post I will show you how to build a simple Jekyll website using VSTS.
For this post, I already have a Jekyll blog committed to my VSTS repo. If you would like to know how to create a Jekyll blog for yourself check here and you need few prerequisites to build Jekyll website on Windows.
So my sample blog post is running fine locally and is committed to VSTS repository.
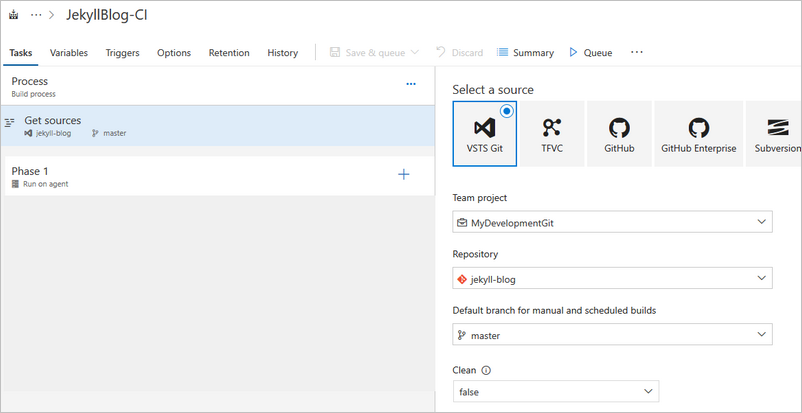
- The first step is to new create a new build definition and map the repository.
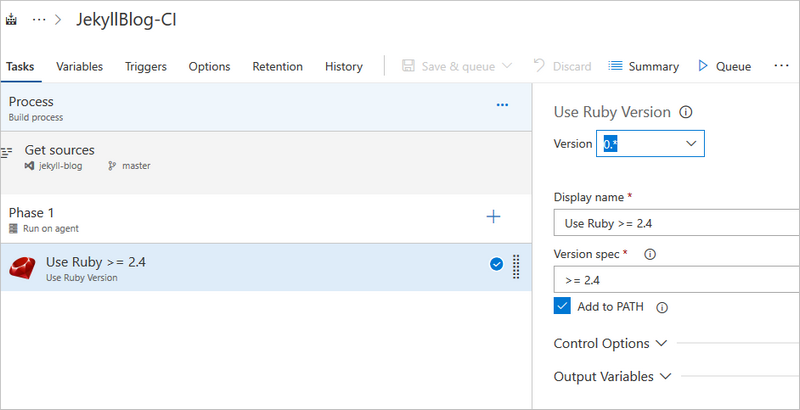
- Next, we will need to install Ruby on the agent machine. With VSTS that is easy as adding a task. So click the + sign and search for Ruby. You will add
Use Ruby Versiontask and install the latest version. Although VSTS automatically adds the task withAdd to PATHchecked, make sure it is checked.
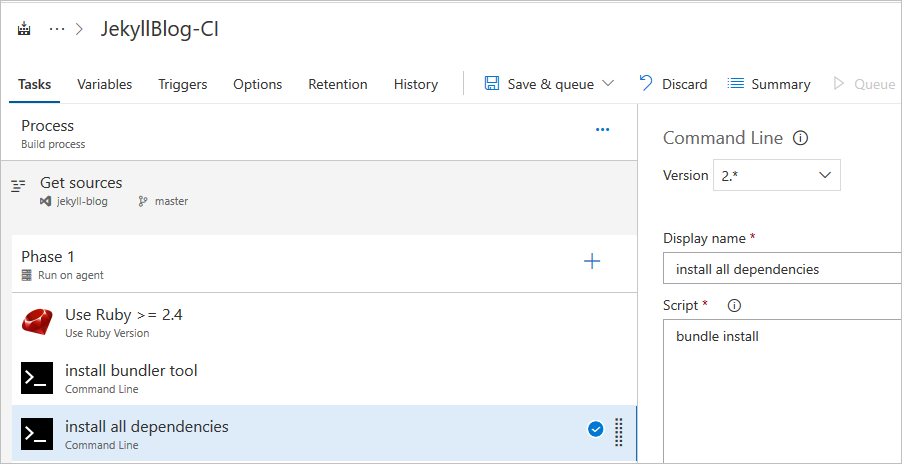
- Next, the Jekyll blog we created has something called as
Gemfilewhich contains the site’s dependencies. This is similar to NPM’spackage.jsonor Nuget’spackages.config. We need to install the dependencies. But before we install the packages we need to install a tool calledbundlerwhich makes installing packages easier (again this tool is similar tonpmornuget). So to install bundler, we add a simpleCommand Linetask and executegem install bundler. We are installing the bundler usinggemwhich is a tool withinrubywe installed earlier.

- Once, the bundler is installed we can now call
bundle installwhich is command to install all the dependencies including Jekyll for our website.
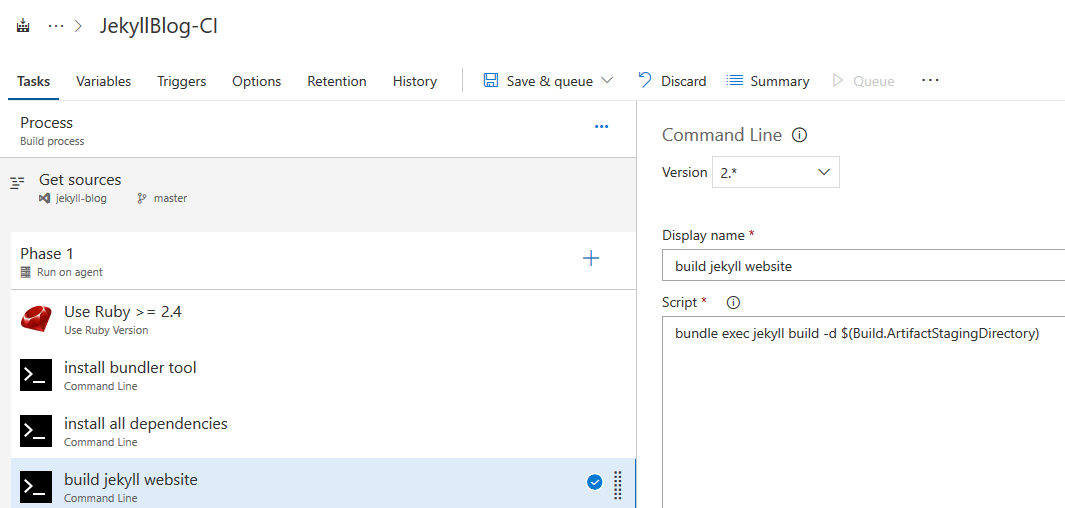
- Next step is to build the Jekyll website using
jekyll buildcommand. This command will convert the markdown’s and apply the templates and generate the static website. We are setting the destination directory to be$(Build.ArtifactStagingDirectory)using-dparameter.
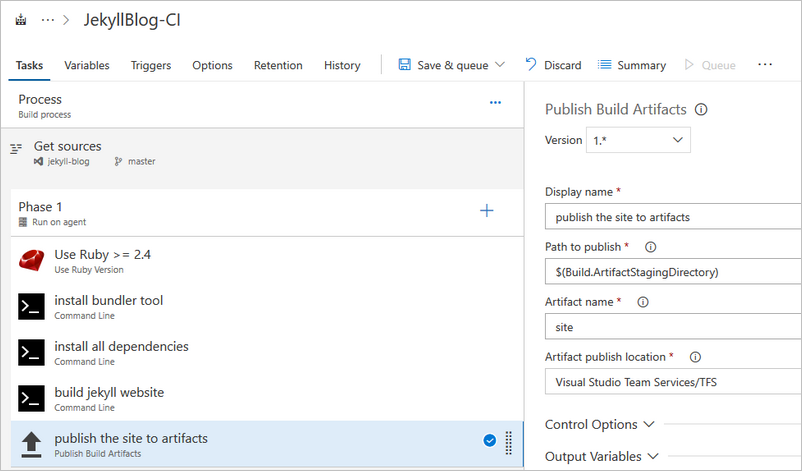
- Last step is to publish the generated site as artifact. So we add a
Publish Artifactstask and publish it.
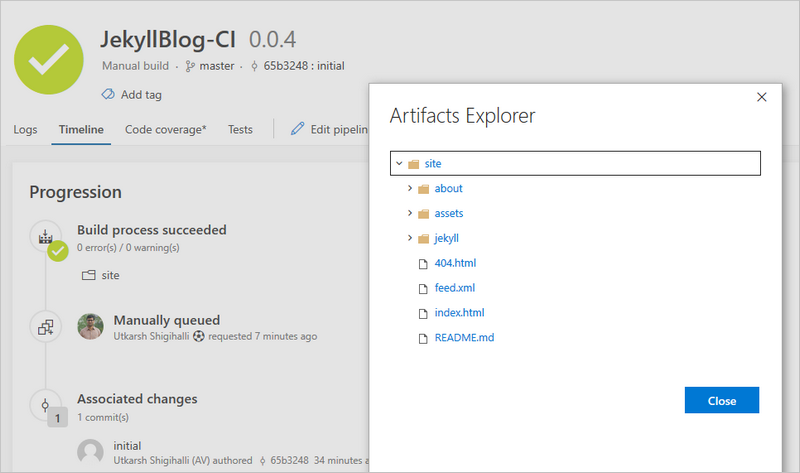
That’s it, it should be available as a published artifact.
As you can see, VSTS is a great platform which works with your tools and makes super easy from building a complex applications to the cloud to building a simple static website.